
Add a student新增学生
Create a child who is joining without a trial, under the right parent, in the right branch.为不经试课直接报名的孩子建档,归到正确的家长与分行之下。
这篇指南的正文目前只有英文版。标题、摘要与导览已翻译;内文仍在翻译中。
Use this when a child is joining directly — a sibling of an existing student, a transfer from another academy, a family who has already decided. If they are coming for a trial first, use Book a trial instead.
1. Open Students
Management → Students, then Add Student.
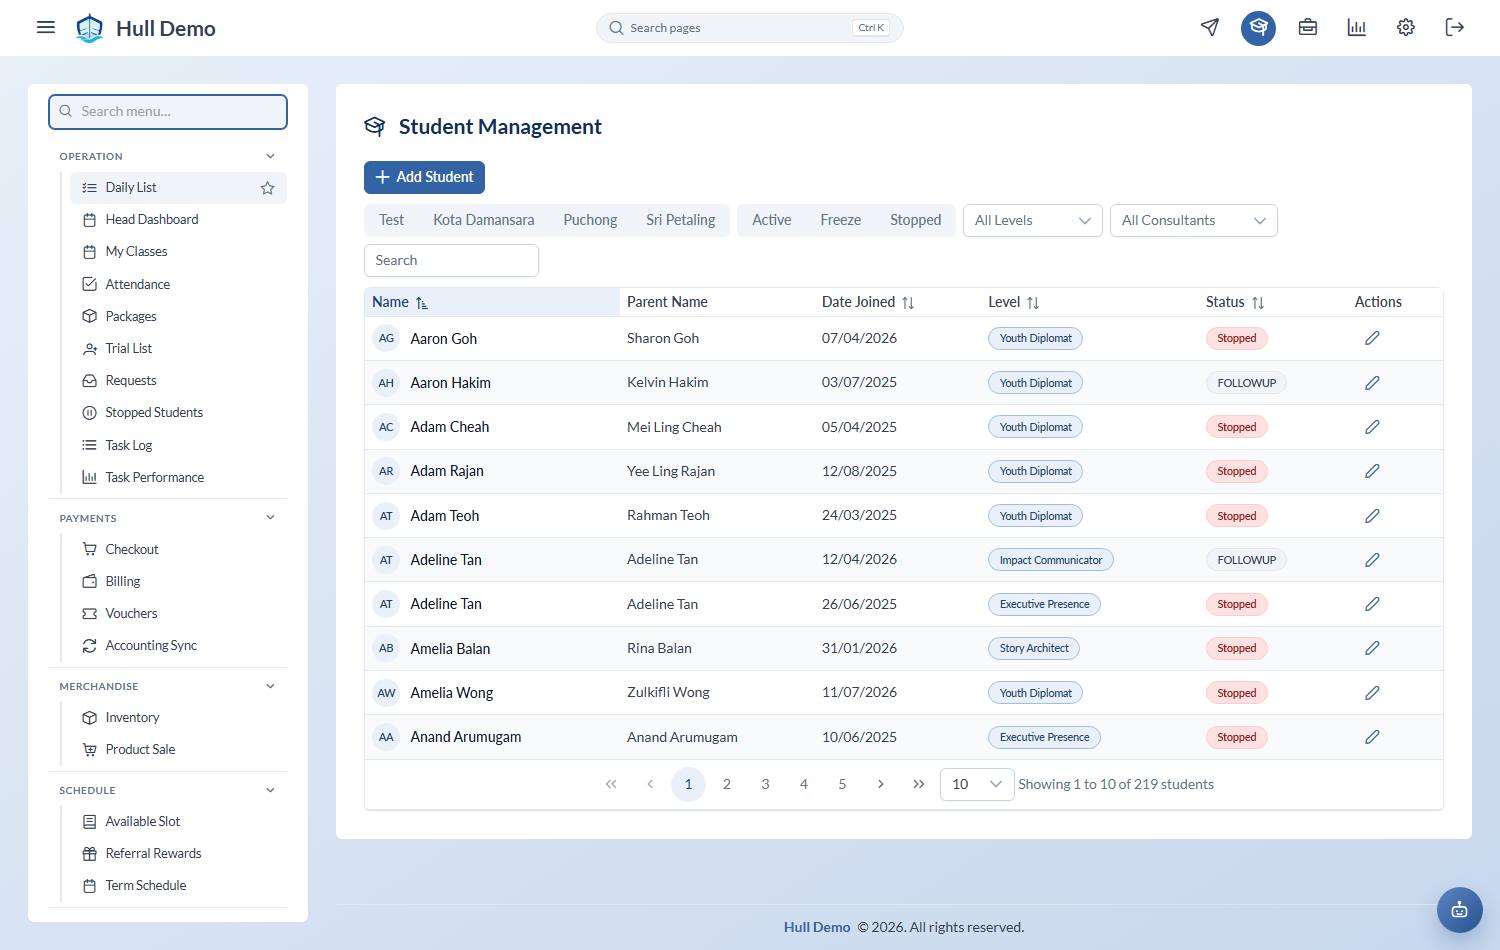
2. Attach them to the right parent
Search for the parent by name. Create a new parent only if the search comes back empty.
This matters more than it looks. The parent owns the money side of the relationship — invoices, receipts, account credit, referral rewards — so a sibling filed under a duplicate parent splits the family in two: two statements, no shared package, no combined referral tally.
3. Fill in the child's details
Name, date of birth, contact, Branch, Level and Student Type.
- Branch is required. Every student belongs to one, and the system will not save a student without it — a child with no branch appears on no register and in no report.
- Dates are day, month, year everywhere in Hull. Type a birthday as 25/12/2020, never the American way round.
- Student Type decides which class types they may be booked into, which packages they can be sold, and whether they are tracked on the progress ladder. Getting it wrong shows up later as "why can't I sell them this?"
- Level is where they start on the curriculum. If you do not know yet, an assessment will set it.
4. Record the source
Set the channel that brought them and, if applicable, the referrer. Same reasoning as a trial: this is what makes the marketing and referral numbers real.
The referrer box searches by the child's name as well as the parent's. A family usually says "Aiden's mum sent us", not the parent's full name, so type the name you were given — then pick it from the list. A name typed but not chosen is refused rather than silently dropped, because a dropped referrer is a family who never gets their reward.
5. Give them a seat and a package
A student record on its own does not put a child in a class. Two more steps:
- Sell them a package — Sell a package.
- Book them into a class — Book a child into a class.
Related: Find your way around a student's profile · The student lifecycle.